
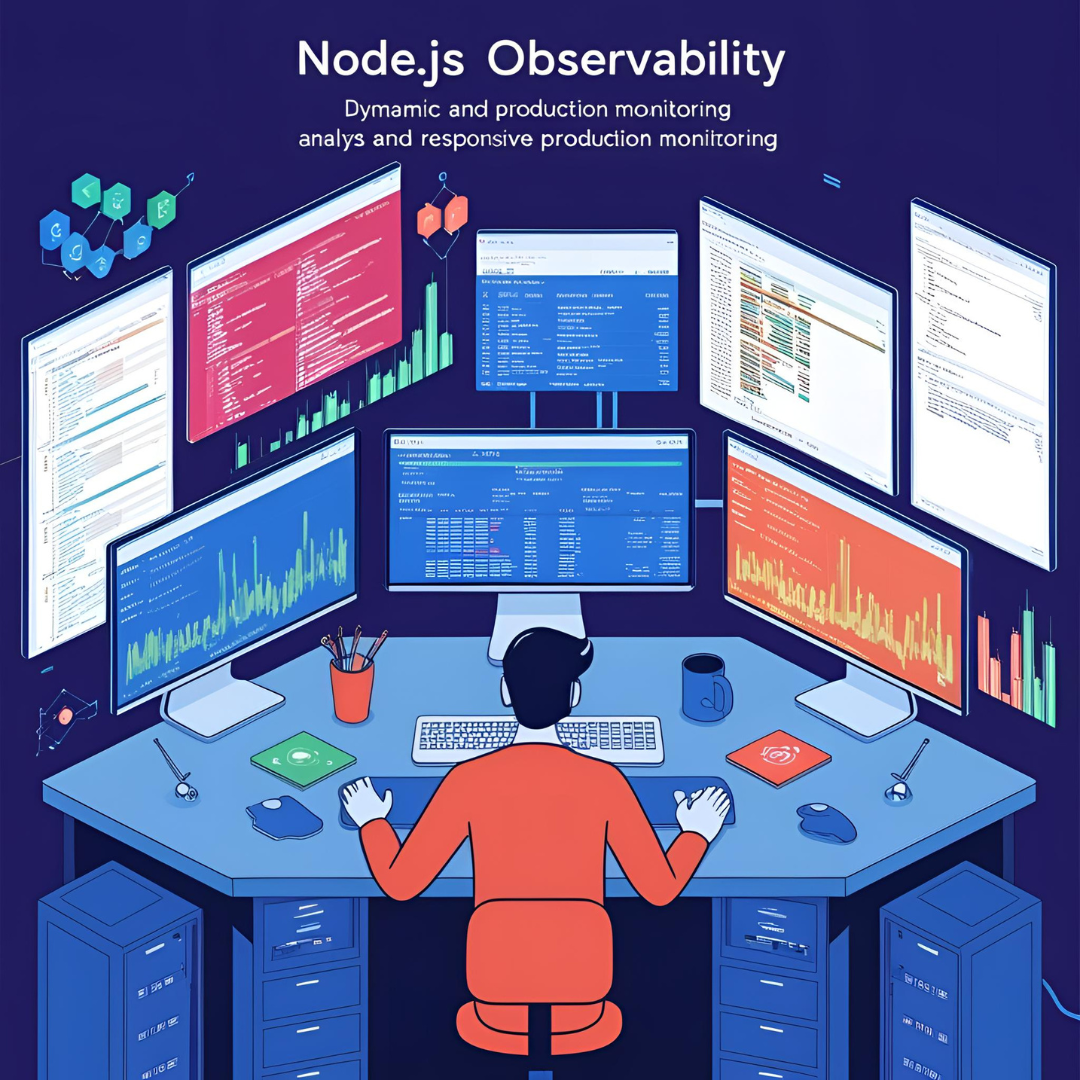
Distributed Tracing, Custom Metrics, and Correlating Logs Across Services
In the early days of our Node.js application, debugging was simple. We’d sprinkle some console.log() statements, watch the terminal output, and quickly identify issues. Fast forward to today, and our once-simple application has evolved into a complex distributed system with dozens of microservices, each producing its own log streams and metrics.
When a user reported that our checkout process was occasionally taking 15+ seconds, our initial response—checking the logs—left us drowning in a sea of uncorrelated information. This was our wake-up call: we needed a proper observability strategy.
This post details our journey from basic logging to a comprehensive observability solution for our Node.js services. We’ll cover the three pillars of observability—logs, metrics, and traces—with practical code examples and lessons learned along the way.
The Three Pillars of Observability
Before diving into implementation details, let’s quickly define what we mean by observability:
Observability is the ability to understand the internal state of a system based on its external outputs. It’s built on three pillars:
- Logs: Detailed records of events that occurred within your application
- Metrics: Numeric data about your application’s performance and behavior
- Traces: Records that follow a request as it moves through your distributed system
While logging alone might suffice for simple applications, distributed systems require all three pillars to provide a complete picture of system health and performance.
Pillar 1: Structured Logging with Context
The problem with console.log() isn’t just its production performance—it’s the lack of structure and context. Here’s how we improved our logging:
Step 1: Switch to a Proper Logging Library
We chose Pino for its simplicity and performance:
// logger.js
const pino = require('pino');

const logger = pino({
  level: process.env.LOG_LEVEL || 'info',
  formatters: {
    level: (label) => {
      return { level: label };
    },
  },
  timestamp: pino.stdTimeFunctions.isoTime,
});

module.exports = logger;
Step 2: Add Request Context to Logs
We created a middleware to enrich logs with request information:
// requestLogger.js
const { randomUUID } = require('crypto');

module.exports = function requestLogger(logger) {
  return (req, res, next) => {
    // Generate or extract trace ID (more on this later)
    const traceId = req.headers['x-trace-id'] || randomUUID();

    // Create a child logger with request context
    req.log = logger.child({
      traceId,
      requestId: randomUUID(),
      method: req.method,
      url: req.url,
      userAgent: req.get('user-agent'),
      ip: req.ip,
    });

    // Log the request
    req.log.info('Request received');

    // Track response time
    const startTime = process.hrtime();

    // Log the response
    res.on('finish', () => {
      const [seconds, nanoseconds] = process.hrtime(startTime);
      const responseTimeMs = (seconds * 1000 + nanoseconds / 1e6).toFixed(2);

      req.log.info({
        responseTime: responseTimeMs,
        statusCode: res.statusCode,
        contentLength: res.get('content-length'),
      }, 'Request completed');
    });

    next();
  };
};
Step 3: Correlate Logs with Trace IDs
To tie together logs from different services, we propagate a trace ID:
// userService.js
async function getUser(userId) {
  // Extract trace ID from the current request
  const traceId = httpContext.get('traceId');

  // Pass trace ID to downstream service
  const response = await axios.get(`${USER_SERVICE_URL}/users/${userId}`, {
    headers: {
      'x-trace-id': traceId
    }
  });

  return response.data;
}
Step 4: Centralize Log Collection
We ship our logs to a central platform (we use the ELK stack—Elasticsearch, Logstash, and Kibana):
// logger.js (extended)
const pino = require('pino');

const transport = pino.transport({
  targets: [
    // Console output for local development
    {
      target: 'pino/file',
      options: { destination: 1 } // stdout
    },
    // Elasticsearch via Logstash
    {
      target: 'pino-elasticsearch',
      options: {
        index: 'nodejs-logs',
        node: process.env.ELASTICSEARCH_URL,
        flushInterval: 5000,
      },
      level: 'info'
    }
  ]
});

const logger = pino({
  level: process.env.LOG_LEVEL || 'info',
  formatters: {
    level: (label) => {
      return { level: label };
    },
  },
  timestamp: pino.stdTimeFunctions.isoTime,
}, transport);

module.exports = logger;
This approach gives us structured, context-rich logs that can be filtered, searched, and correlated across services.
Pillar 2: Application Metrics for Visibility
Logs tell you what happened, but metrics show you trends and patterns. Here’s how we implemented custom metrics:
Step 1: Set Up Prometheus Client
We use Prometheus for metrics collection:
// metrics.js
const client = require('prom-client');

// Create a Registry to register metrics
const register = new client.Registry();

// Add default metrics (process, GC, event loop, etc.)
client.collectDefaultMetrics({ register });

// Define custom counters
const httpRequestCounter = new client.Counter({
  name: 'http_requests_total',
  help: 'Total number of HTTP requests',
  labelNames: ['method', 'path', 'status'],
  registers: [register],
});

// Define custom histograms
const httpRequestDurationHistogram = new client.Histogram({
  name: 'http_request_duration_seconds',
  help: 'HTTP request duration in seconds',
  labelNames: ['method', 'path', 'status'],
  // Define custom buckets in seconds
  buckets: [0.005, 0.01, 0.025, 0.05, 0.1, 0.25, 0.5, 1, 2.5, 5, 10],
  registers: [register],
});

// Define custom gauges
const activeConnectionsGauge = new client.Gauge({
  name: 'active_connections',
  help: 'Number of active connections',
  registers: [register],
});

module.exports = {
  register,
  httpRequestCounter,
  httpRequestDurationHistogram,
  activeConnectionsGauge,
};
Step 2: Track HTTP Metrics
Create a middleware to record request metrics:
// metricsMiddleware.js
const { httpRequestCounter, httpRequestDurationHistogram } = require('./metrics');

module.exports = function metricsMiddleware(req, res, next) {
  // Start timer
  const end = httpRequestDurationHistogram.startTimer();

  // Track active connections
  activeConnectionsGauge.inc();

  // Process request
  next();

  // When response is sent
  res.on('finish', () => {
    // Decrement active connections
    activeConnectionsGauge.dec();

    // Normalize path to avoid high cardinality
    const normalizedPath = normalizePath(req.path);

    // Record metrics with labels
    httpRequestCounter.inc({
      method: req.method,
      path: normalizedPath,
      status: res.statusCode
    });

    // End timer and record histogram
    end({
      method: req.method,
      path: normalizedPath,
      status: res.statusCode
    });
  });
};

// Helper to avoid high cardinality in metrics
function normalizePath(path) {
  // Replace IDs with placeholders
  return path
    .replace(/\/[0-9a-f]{24}\/?/g, '/:id/') // MongoDB IDs
    .replace(/\/\d+\/?/g, '/:id/');         // Numeric IDs
}
Step 3: Create Business-Specific Metrics
Beyond technical metrics, we track business-relevant data:
// orderService.js
const { Counter, Histogram } = require('prom-client');

// Track order values
const orderValueHistogram = new Histogram({
  name: 'order_value_usd',
  help: 'Value of orders in USD',
  buckets: [10, 25, 50, 100, 250, 500, 1000, 2500, 5000],
});

// Track payment methods
const paymentMethodCounter = new Counter({
  name: 'payment_method_total',
  help: 'Payment methods used',
  labelNames: ['method', 'status'],
});

async function createOrder(orderData) {
  try {
    const order = await orderRepository.create(orderData);

    // Record order value metric
    orderValueHistogram.observe(order.totalAmount);

    // Record payment method metric
    paymentMethodCounter.inc({
      method: order.paymentMethod,
      status: 'success'
    });

    return order;
  } catch (error) {
    // Record payment failure
    paymentMethodCounter.inc({
      method: orderData.paymentMethod,
      status: 'failure'
    });

    throw error;
  }
}
Step 4: Expose Metrics Endpoint
Create an endpoint that Prometheus can scrape:
// app.js
const express = require('express');
const { register } = require('./metrics');

const app = express();

// Other middleware and routes...

// Metrics endpoint
app.get('/metrics', async (req, res) => {
  res.set('Content-Type', register.contentType);
  res.end(await register.metrics());
});
With these metrics in place, we can create Grafana dashboards to visualize system health, performance trends, and business data.
Pillar 3: Distributed Tracing for End-to-End Visibility
Distributed tracing was the missing piece that tied everything together. Here’s how we implemented it:
Step 1: Install and Set Up OpenTelemetry
We use OpenTelemetry for distributed tracing:
// tracing.js
const { NodeTracerProvider } = require('@opentelemetry/node');
const { SimpleSpanProcessor } = require('@opentelemetry/tracing');
const { JaegerExporter } = require('@opentelemetry/exporter-jaeger');
const { registerInstrumentations } = require('@opentelemetry/instrumentation');
const { ExpressInstrumentation } = require('@opentelemetry/instrumentation-express');
const { HttpInstrumentation } = require('@opentelemetry/instrumentation-http');
const { MongoDBInstrumentation } = require('@opentelemetry/instrumentation-mongodb');

function setupTracing(serviceName) {
  // Create a tracer provider
  const provider = new NodeTracerProvider();

  // Configure exporter to send spans to Jaeger
  const jaegerExporter = new JaegerExporter({
    serviceName,
    endpoint: process.env.JAEGER_ENDPOINT || 'http://localhost:14268/api/traces',
  });

  // Add span processor to export spans
  provider.addSpanProcessor(new SimpleSpanProcessor(jaegerExporter));

  // Register the provider
  provider.register();

  // Auto-instrument common libraries
  registerInstrumentations({
    instrumentations: [
      new ExpressInstrumentation(),
      new HttpInstrumentation(),
      new MongoDBInstrumentation(),
    ],
  });

  return provider.getTracer(serviceName);
}

module.exports = { setupTracing };
Step 2: Create and Propagate Trace Context
Establish proper context propagation between services:
// app.js
const express = require('express');
const { context, propagation } = require('@opentelemetry/api');
const { setupTracing } = require('./tracing');

// Initialize tracing
const tracer = setupTracing('order-service');

const app = express();

// Extract trace context from incoming requests
app.use((req, res, next) => {
  const ctx = propagation.extract(context.active(), req.headers);
  context.with(ctx, () => next());
});

// Other middleware and routes...

// Example of making a downstream request with context propagation
app.get('/orders/:id', async (req, res) => {
  const span = tracer.startSpan('get-order-details');

  try {
    // Perform operation in context of the span
    context.with(context.active().setValue(span), async () => {
      const orderId = req.params.id;

      // Create nested span for database query
      const dbSpan = tracer.startSpan('database-query');
      const order = await orderRepository.findById(orderId);
      dbSpan.end();

      // Propagate context to downstream service
      const headers = {};
      propagation.inject(context.active(), headers);

      // Call product service with trace context
      const productSpan = tracer.startSpan('get-product-details');
      const products = await axios.get(
        `${PRODUCT_SERVICE_URL}/products/batch?ids=${order.productIds.join(',')}`,
        { headers }
      );
      productSpan.end();

      res.json({
        order,
        products: products.data
      });
    });
  } catch (error) {
    span.setStatus({ code: 2, message: error.message }); // Error status
    span.recordException(error);
    res.status(500).json({ error: 'Failed to fetch order' });
  } finally {
    span.end();
  }
});
Step 3: Add Business Context to Spans
Enrich spans with business information:
// orderService.js
const { trace } = require('@opentelemetry/api');

async function processPayment(orderId, paymentDetails) {
  const tracer = trace.getTracer('order-service');
  const span = tracer.startSpan('process-payment');

  try {
    // Add business context to span
    span.setAttribute('order.id', orderId);
    span.setAttribute('payment.method', paymentDetails.method);
    span.setAttribute('payment.amount', paymentDetails.amount);

    // Process payment...
    const result = await paymentGateway.processPayment(paymentDetails);

    span.setAttribute('payment.transaction_id', result.transactionId);
    span.setAttribute('payment.status', result.status);

    return result;
  } catch (error) {
    span.setStatus({ code: 2, message: error.message });
    span.recordException(error);
    throw error;
  } finally {
    span.end();
  }
}
Step 4: Correlate Traces with Logs and Metrics
The final piece was correlating all three pillars. We update our logging middleware:
// requestLogger.js (updated)
const { context, trace } = require('@opentelemetry/api');

module.exports = function requestLogger(logger) {
  return (req, res, next) => {
    // Get current span from OpenTelemetry context
    const span = trace.getSpan(context.active());

    // Extract trace and span IDs
    const traceId = span ? span.spanContext().traceId : 'unknown';
    const spanId = span ? span.spanContext().spanId : 'unknown';

    // Create a child logger with trace context
    req.log = logger.child({
      traceId,
      spanId,
      method: req.method,
      url: req.url,
    });

    // ...rest of middleware

    next();
  };
};
And we add trace IDs to our metrics:
// metricsMiddleware.js (updated)
const { trace } = require('@opentelemetry/api');

module.exports = function metricsMiddleware(req, res, next) {
  // ...existing code

  res.on('finish', () => {
    // Get current span
    const span = trace.getSpan(context.active());

    // Add trace ID as a label if available
    const labels = {
      method: req.method,
      path: normalizePath(req.path),
      status: res.statusCode,
    };

    if (span) {
      labels.traceId = span.spanContext().traceId;
    }

    // Record metrics with trace ID
    httpRequestCounter.inc(labels);
    end(labels);
  });
};
Putting It All Together: A Complete Observability Stack
With all three pillars in place, let’s see how we integrated them in our application:
// app.js (complete example)
const express = require('express');
const { context, propagation } = require('@opentelemetry/api');
const { setupTracing } = require('./tracing');
const logger = require('./logger');
const requestLogger = require('./requestLogger');
const metricsMiddleware = require('./metricsMiddleware');
const { register } = require('./metrics');

// Initialize tracing
const tracer = setupTracing('order-service');

const app = express();

// Extract trace context from incoming requests
app.use((req, res, next) => {
  const ctx = propagation.extract(context.active(), req.headers);
  context.with(ctx, () => next());
});

// Add request logging
app.use(requestLogger(logger));

// Add metrics collection
app.use(metricsMiddleware);

// Regular middleware
app.use(express.json());

// API routes
app.use('/api/orders', require('./routes/orders'));
app.use('/api/products', require('./routes/products'));

// Metrics endpoint
app.get('/metrics', async (req, res) => {
  res.set('Content-Type', register.contentType);
  res.end(await register.metrics());
});

// Health check endpoint
app.get('/health', (req, res) => {
  res.json({ status: 'ok' });
});

// Error handler
app.use((err, req, res, next) => {
  req.log.error({ err }, 'Request error');
  res.status(500).json({ error: 'Internal server error' });
});

const port = process.env.PORT || 3000;
app.listen(port, () => {
  logger.info(`Service started on port ${port}`);
});
Lessons from Production Use
After implementing this observability stack, our ability to debug and respond to issues improved dramatically. Here are some key lessons:
1. Use Correlation IDs Religiously
Every request should have a unique ID that flows through all services, logs, and traces. This makes it possible to follow a request’s journey through the entire system.
2. Be Mindful of Cardinality
High cardinality in metrics (too many unique combinations of labels) can cause performance issues. Normalize paths, limit label values, and carefully consider what dimensions are truly necessary.
3. Automate Instrumentation When Possible
Manual instrumentation is error-prone and time-consuming. Use auto-instrumentation libraries for common frameworks and patterns, then add custom instrumentation only where needed.
4. Set Up Proper Alerting
Observability is most valuable when coupled with alerts that notify you of problems before users do. Set up alerts based on key metrics and error rates.
5. Standardize Observability Practices
Create shared libraries and establish consistent observability practices across teams. This ensures that all services provide the same level of visibility.
Our Current Observability Stack
Our production observability stack consists of:
- Logging: Pino for structured logging, shipped to Elasticsearch via Logstash, visualized in Kibana
- Metrics: Prometheus for collection, Grafana for visualization and alerting
- Tracing: OpenTelemetry for instrumentation, Jaeger for storage and visualization
- Integration: Trace IDs flow through all systems, allowing us to correlate data across platforms
Result: The 15-Second Checkout Fix
Remember the 15-second checkout problem? With our new observability stack, we identified the issue in minutes:
- We first looked at the trace for a slow checkout request
- The trace showed that 90% of the time was spent in the payment service
- Digging deeper, we found that the payment service was making synchronous calls to a third-party provider
- The metrics showed that these calls had high latency variability
- The logs revealed that connection pooling was misconfigured
The fix was simple: we implemented proper connection pooling and added request timeouts. This reduced checkout times from 15+ seconds to under 500ms in the worst cases.
Conclusion
Moving beyond console.log() to a comprehensive observability strategy has transformed how we operate our Node.js services. We now have:
- Faster incident resolution (MTTR reduced by 70%)
- Better system understanding for all engineers
- Proactive problem detection before users notice
- Data-driven performance optimization
While implementing a full observability stack requires investment, the benefits far outweigh the costs. Start with the basics—structured logging with context—and gradually add metrics and tracing as your system grows.
Remember that observability is not just about tools but also about culture. Encourage your team to think about observability from the beginning of the development process, not as an afterthought.
What observability practices have you found valuable in your Node.js applications? Share your experiences in the comments!
Further Reading:
Leave a Reply